Recently I found myself in a familiar testing situation – a developer had made a change to a feature that required testing by visual comparison. Hours of tedious, repetitive manual testing awaited me.
Campaign Monitor is a web app that allows users to import an HTML page and send it as an email to a list of subscribers. It runs the email through a conversion process so that the HTML page will work properly with our system. As you can imagine, this means there is a massive amount of variation possible for this kind of input, and the correctness of the output depends as much on the layout and visual elements of the page as the page content itself. In other words, it’s not enough to just verify the same elements exist on the page – the way they look is also important.
In this case, the change was an improvement to the conversion of foreign character sets, so the developer had sent me a large list of HTML pages with foreign characters to verify that the emails still looked correct.
So I needed to import campaigns in both the test environment and the production environment and visually confirm that they still looked the same. We had encountered a similar situation in the past. The results was hours and hours of tedious manual testing. But this is a task that can only be done manually, right?
To hell with that!
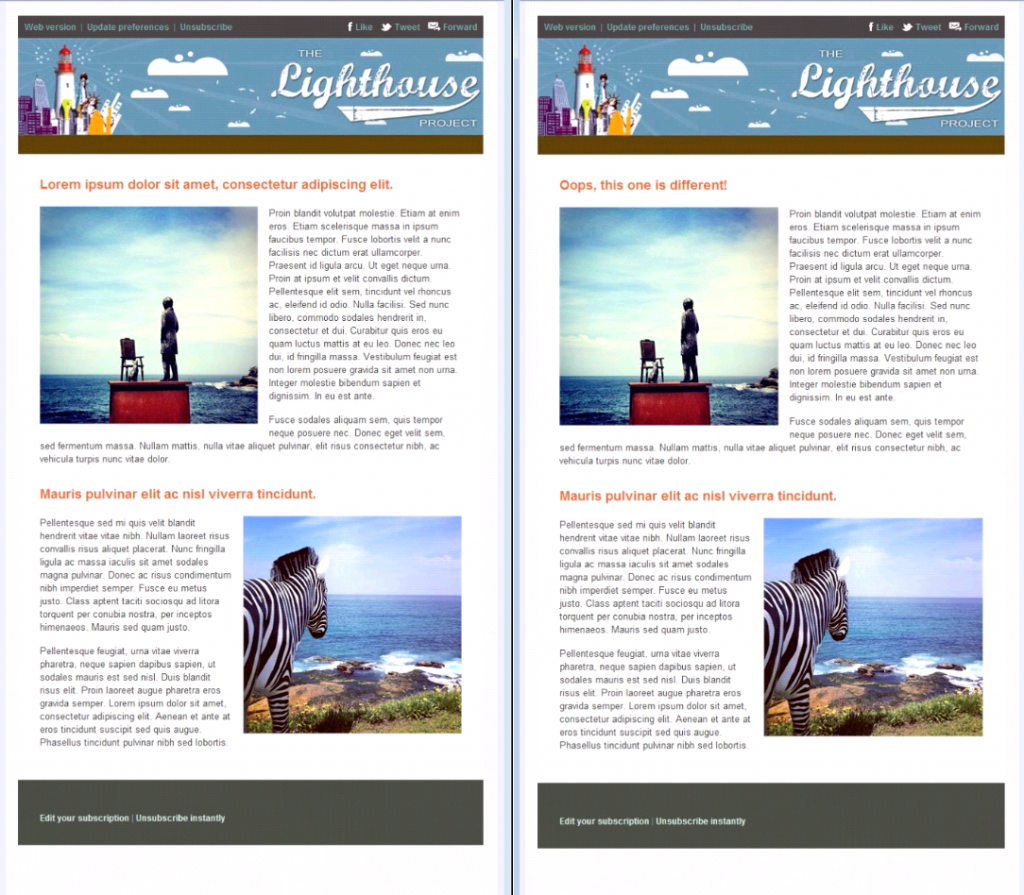
It was a pretty straightforward process to set up an automated script that would import a campaign and show the preview screen. Then I just needed a way to capture the previews in each environment as a screenshot for easy comparison. Luckily WatiN has a method called CaptureWebPageToFile() (part of the IE object) which captures the entire web page in the browser window and saves it as an image. So even if part of the web page is outside the visible part of the browser window, the entire page will still be captured in the image.
So that allowed me to take a list of web based campaigns as input and automatically generate screenshots of each campaign in two different environments for easy visual comparison, saving hours of tedious clicking. As a test of the tool, I imported two copies of the same email campaign and changed one of them to display different text in the title of the first paragraph.
But wait! I can do better.
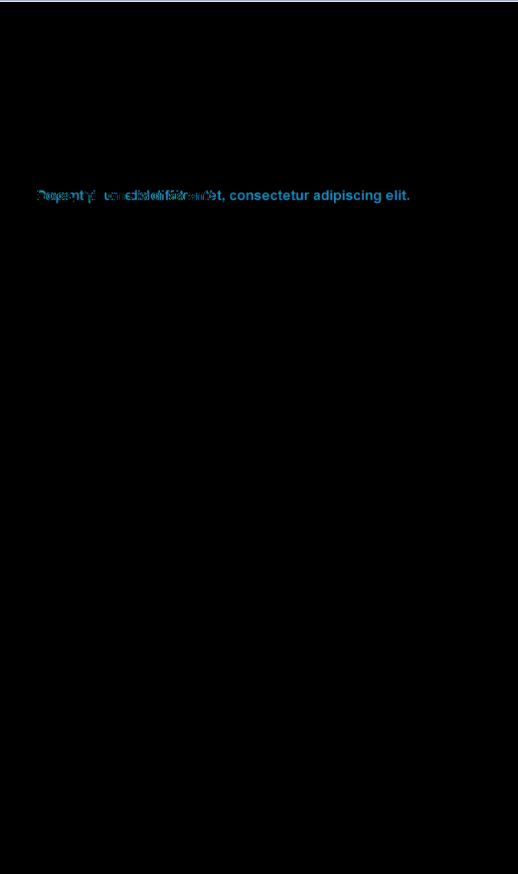
Visually comparing two screenshots was still pretty annoying and time-consuming. So I added a step to automatically compare the two images pixel by pixel, and tell me if they’re identical. If they’re not identical, then I want a new screenshot showing me how they’re different.
TestApi has a tool for doing exactly what I wanted. So I made a method that would take two images, compare them, and generate a diff image if they weren’t identical. The diff image isn’t fantastic, but it gives a rough guide to where the problem areas are. In the example diff image below, any parts of the image that are the same are coloured black, and any parts that are different are coloured blue. So for this test, any characters that were not properly encoded would show up quite obviously. This way we know exactly which campaigns are problematic and all we have to do is follow those up, instead of sifting through potentially hundreds of campaigns manually.
After I wrote the method for comparing the screenshots, I just needed to speed up the process a bit. Logging into each environment and importing the campaign took a lot of time, so it was easier just to import once and reimport for each new campaign. But processing one environment at a time meant that I had to wait for it to get through the whole list before I could see any results. So I compromised and processed the campaigns in batches of ten.
Unfortunately, I can’t share the code with you because it’s so tightly woven into our product-specific automation library that it wouldn’t be usable as an independent tool. But with the concepts and links above, it should be easy enough for you to adapt it for your own project.
Now, is your finger itching to hit the comment button and tell me there’s an even easier way for me to solve the problem I had? You’d be absolutely right. I was about ten minutes into writing this script when I realised all I had to do was import this page and I had a handy list of incorrectly-converted characters to send to the developer. But the visual comparison tool was still handy to make sure nothing else had gone wrong as a result of the change.
I ended up finding that some of the foreign character sets were incorrectly encoded, and I already had screenshots saved by the tool to send to the developer. Not only did I find a bug, but now that it’s written we can easily adapt this script to regression test changes to this feature and other similar features in the application in future. So that means less repetitive testing and more exploratory testing!


3 thoughts on “Eliminate boring testing: Automating visual comparison”
Trish, I really love your approach to visual verification!
In the past we have done something similar, however never went as far as to automatically verify the results.
The way I have done it quite a few times in the past is more on a functional level.
Walk through the full, regular, automation suite with one difference: on every step take a screencap, indeed of the full page, not just the visible area. Collect all these screencaps and when the test run is done, we would go through the resulting stack of screenshots with a blink-test. In other words, going through them at a high pace.
Objective for us was to verify that all the labels, which got filled dynamically through javascript, were present, fit within the text boxes, all ajax dropdowns were rendered properly etc. and verifying that there is a consistent L&F across the different browsers.
I am definitely going to look into what TestApi can do for me in this respect for future references!
Thank Martijn, I’m glad you like the approach! With regards to regular garden-variety functional regression tests, I’ve seen a few implementations of visual verification for this and they tend to be fraught with peril, so be careful. TestApi actually comes with a massive warning about it on its documentation for visual verification methods in fact. The main problem is that if you’re comparing screenshots of application features against a baseline image that you’ve captured earlier, any little visual change will trigger a failure. So it’s definitely worth reading this warning about using visual verification with caution: http://blogs.msdn.com/b/ivo_manolov/archive/2009/04/20/9557563.aspx
That said, I think it’s a great tool to have up your sleeve if you can find a good use for it. I once read about a fuzzy match visual verification method that Google used. It would allow differences between the images to a certain extent so that small insignificant changes would not trigger false negatives in the result. So that is worth keeping in mind as well.
Trish,
Very innovative idea here. I’ve done a similar technique by automating the navigation between pages in before & after for site that was being migrated. I built an html/javascript page that showed thumbnails of the screen shots, allowing the tester to drill in anytime they wanted to see more detail. The risk was slightly higher than your blink test seems to be, but the work was really fast for the humongous numbers of pages we had to review.
Thanks for sharing your ideas.
Dave
Comments are closed.